Jekyll is a static website generator. The simplicity of Jekyll’s theming layer and writing workflow associated with all the open-source themes available out there makes Jekyll a though worth choice when you don’t have either the time or competences to make one from scratch. Depending if you are planning to host a blog, documentation, a company webpage or simply your resume you might wanna start from an available template on GitHub or awesomeopensource.com.
The match plan
As I’m planning to post technical tutorials in the current blog, I’ve decided to use TeXt-theme Jekyll template as it comes with advanced functionalities like pages formatting, charts, diagrams, chat plugin and more. Technically, you can pick any other Jekyll template you’d like as most repositories storing them ship with the correct travis.yml file to automatically turn the repository to a Github page every time any code got pushed to the branch master.
If you have never heard of Github before, GitHub is a web Git repository hosting service with an extra layer of its own features like Github pages for instance. Basically, it is being used to easily store and share code with potential collaborators but could also be used to host a static website that belongs to one of your repositories.
It is important to know that while Github allows users to have their repositories being either private or public, they will only allow you to host pages from a public repo without a paid plan. If you go for a paid plan different that entrepise you’d also need to know that the hosted website will always be publicly accessible to anyone knowing the url. If this is an issue for you, as you might be planning to write some API key/passwords in the config file then I’d suggest to use Gitlab that allows you to host static website for free with a private repository or even some cloud provider like Digital Ocean if you are planning to end up scaling your game with a dedicated server in the future.
Lets Do It!
Ok, so at this point you are expected to have decided which Jekyll template you’d like to start from if you picked one different than mine and have created a Github account if you have none and you are logged in.
Now from the Jekyll template’s Github page, click on the fork button.
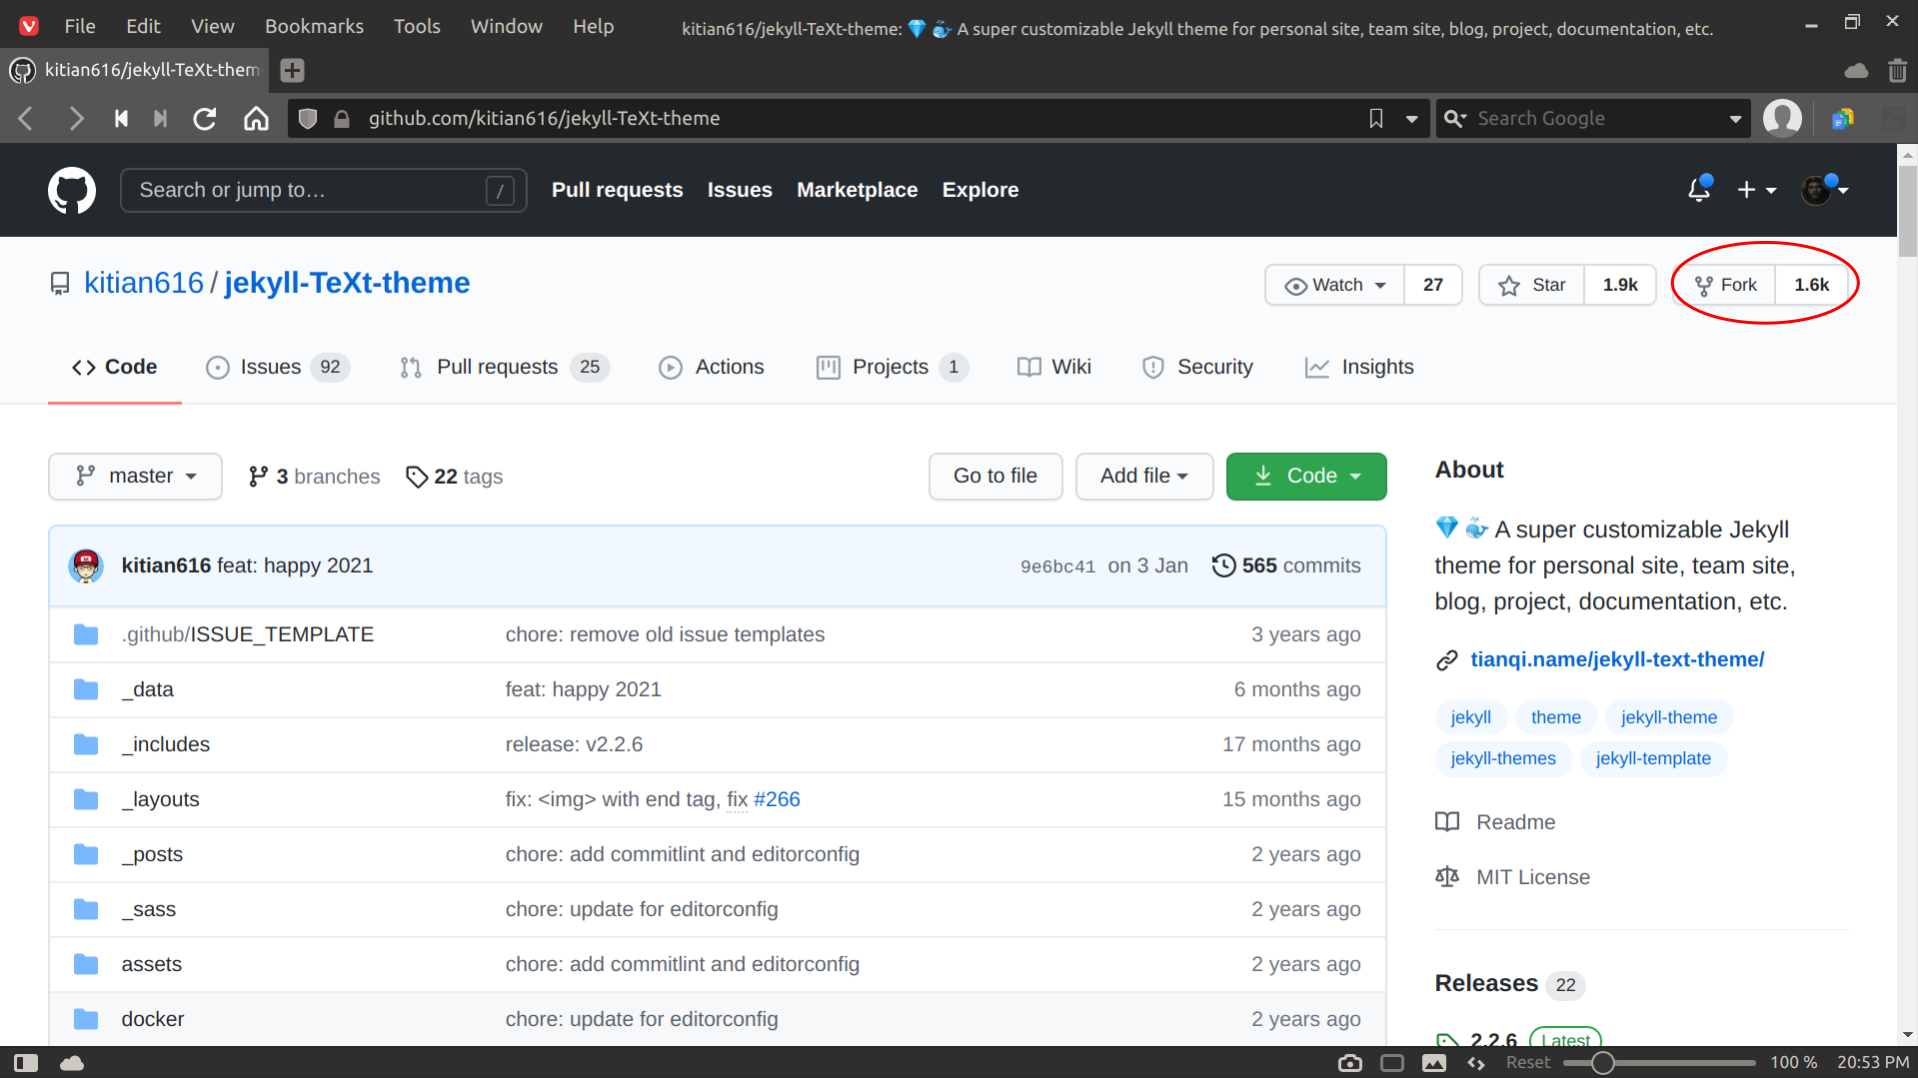
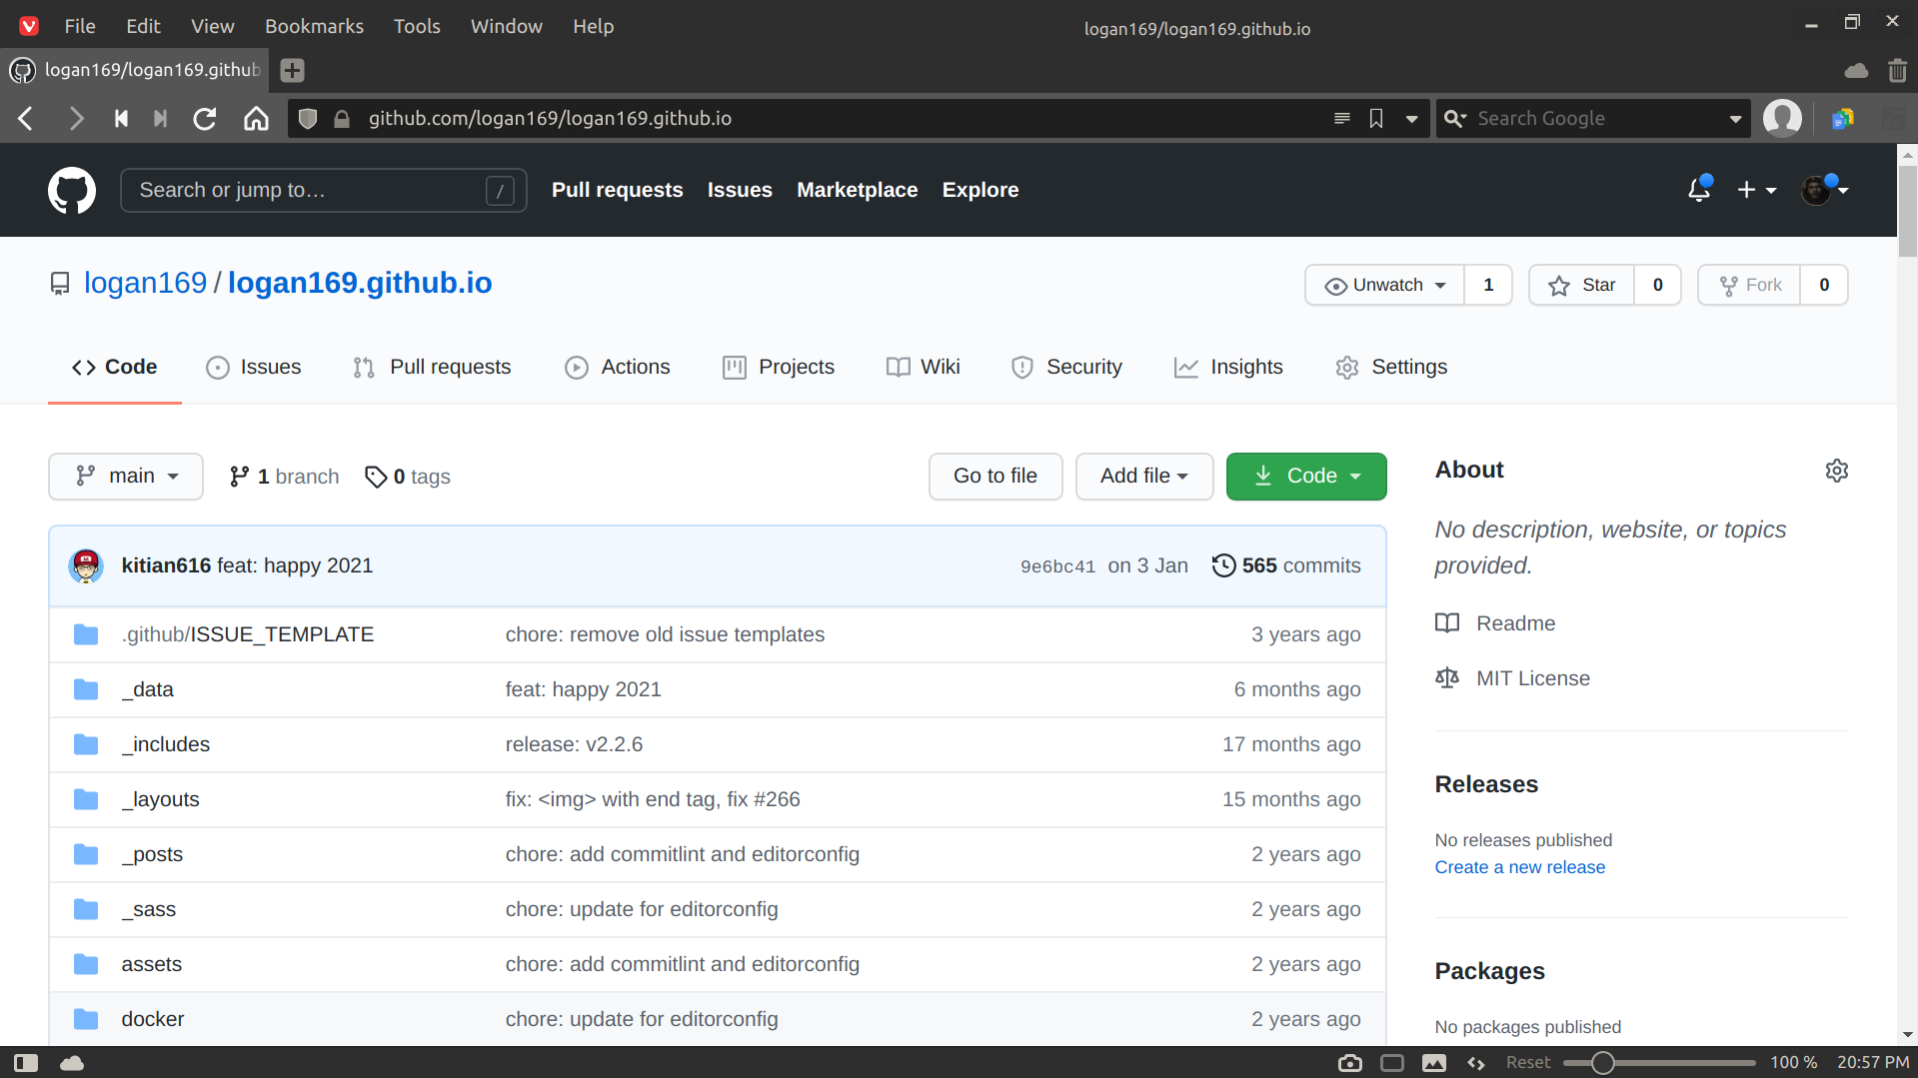
This should fork the repo to your Github account.

Once you get there, you’d need to rename the repository name by clicking on Settings/cog icon and rename the repository name to either one of those options:
- If you are planning to only use one website, I’d suggest renaming to this format
{GitHub_username}.github.io. This will load your website under the url looking likehttps://{GitHub_username}.github.io- If you are planning to get one website per repo then I’d use the project name instead then the url would be
https://{GitHub_username}.github.io/{GitHub_project_name}
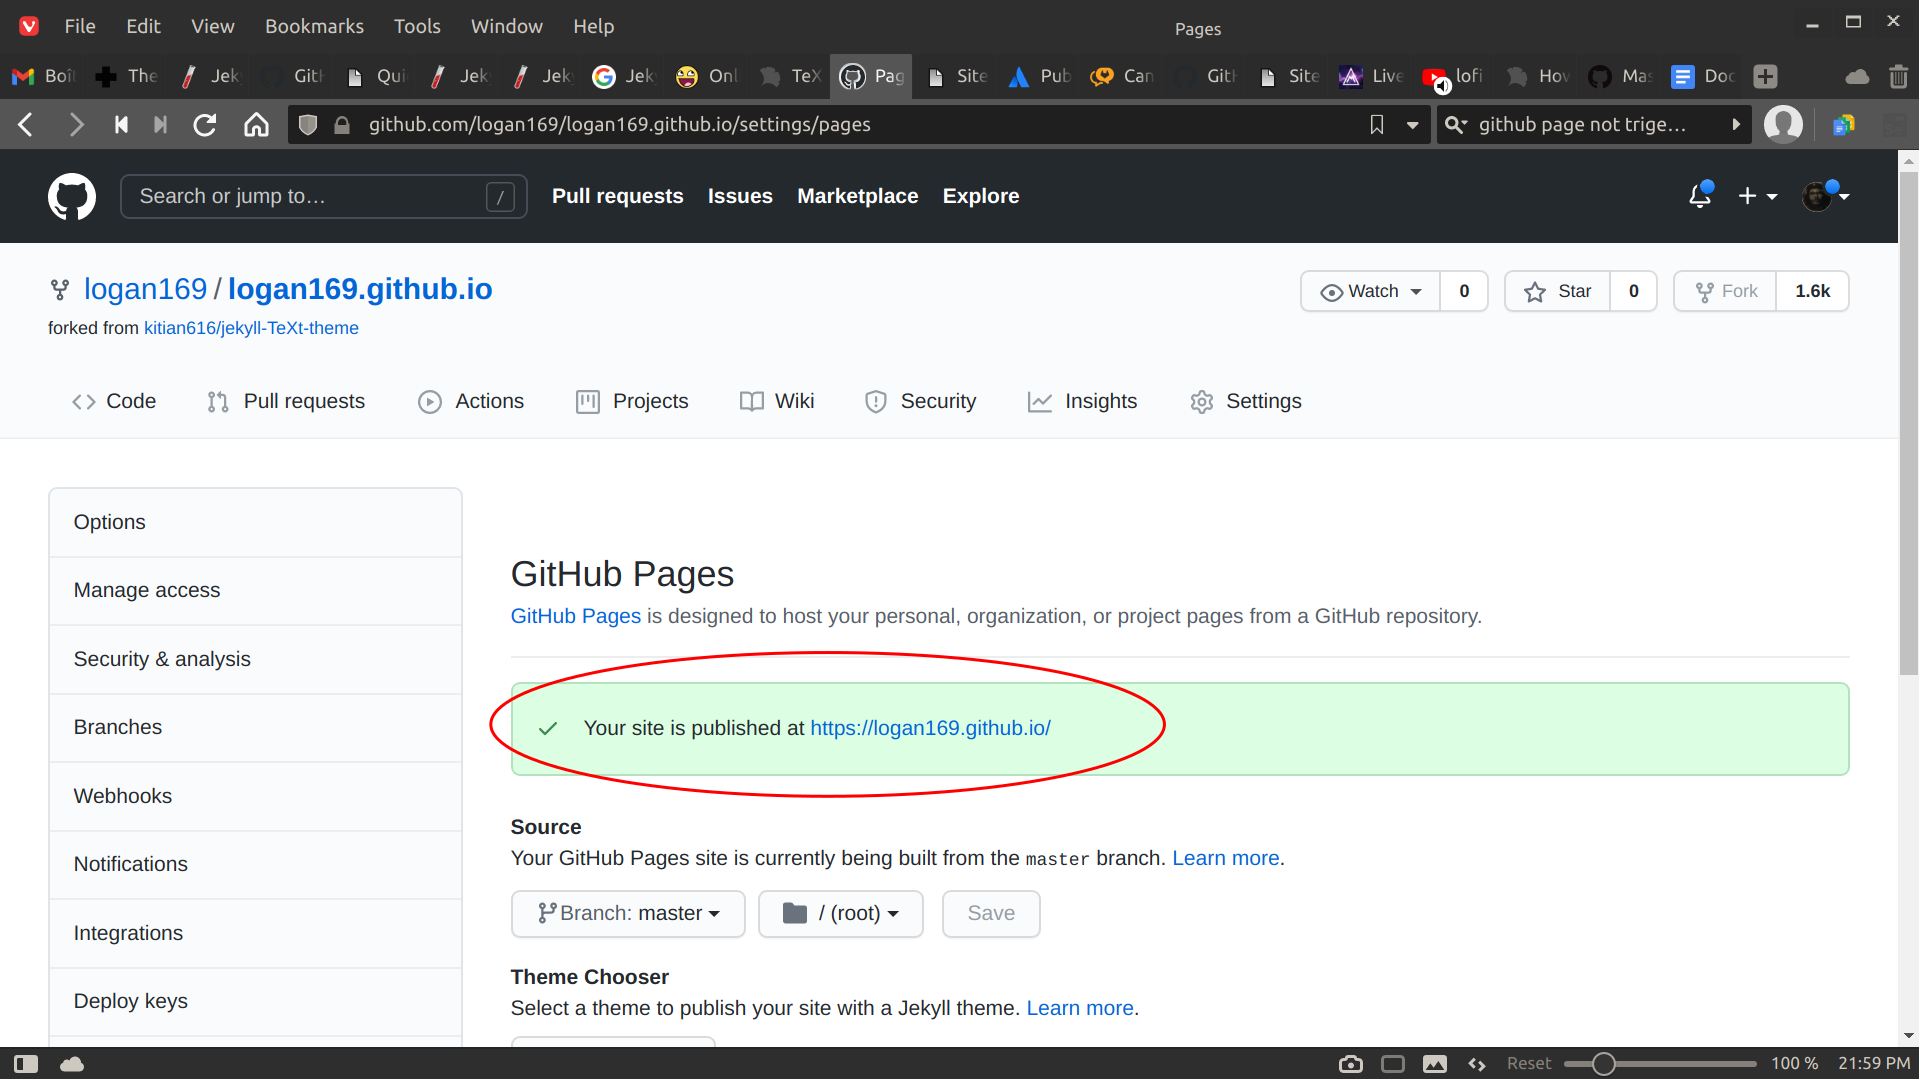
Now visit the url following the previously mentioned format and you should see your website accessible on the world wide web! If are unable to access it have a look at the pages section of the settings and double check that the displayed website url is the right one you’ve typed and is online. If it is you should see the following. Usually Github refresh the website around 30 seconds after a push.
Piña Colada Time
At this point, you should have a running website and now you can chill while customizing the template to your taste. If you’ve used the same template as I did then for each posts you’ll need to create a new file in the “_posts” folder with this format when naming your file year-month-day-my-first-post.md. As well you might wanna read the Jekyll theme documention and other github markdown cheat sheet to refresh your memory about what is possible
Technically, if you were only planning to do a single page app website like for a resume I wouldn’t even set up a local coding environment and I’d use the Github IDE instead to fill the text and edit the look. Being able to do this kind of things without ever having to install anything locally is a gain of time that is most of the time never accounted for in other webdev blogs.
Last hint for the road, if you end up doing it locally, serve your local webapp with bundle exec jekyll serve -l -o Those tags will auto-reload your website on any saved changes and open the browser for you. For local development, be aware that you’d need to restart the server manually if you modify _config.yml.